Update your reply-to address & email template
Click on Email Settings in the left menu bar of our application & click on Email Content tab in this page. You’ll see a few settings that look like this -

When you send an invoice from Invoice Falcon, your customer will see your store’s name as the sender of the email.
The email address that the invoice is sent from is [email protected]. However, all replies to any email from our app will go to the email address mentioned in the Email - Reply-to address specified in the field here.
Enter or update the address you’d like to receive replies to and click ‘Save’ right after.
Why are my emails sent from [email protected]?
If you are on the Pay-as-you-go plan, emails will be sent from [email protected], but all replies to your email will be forwarded to the email address you specified in the Email - Reply-to address above.
To send emails from your own address, please subscribe to the Superhero or Ultimate plan.

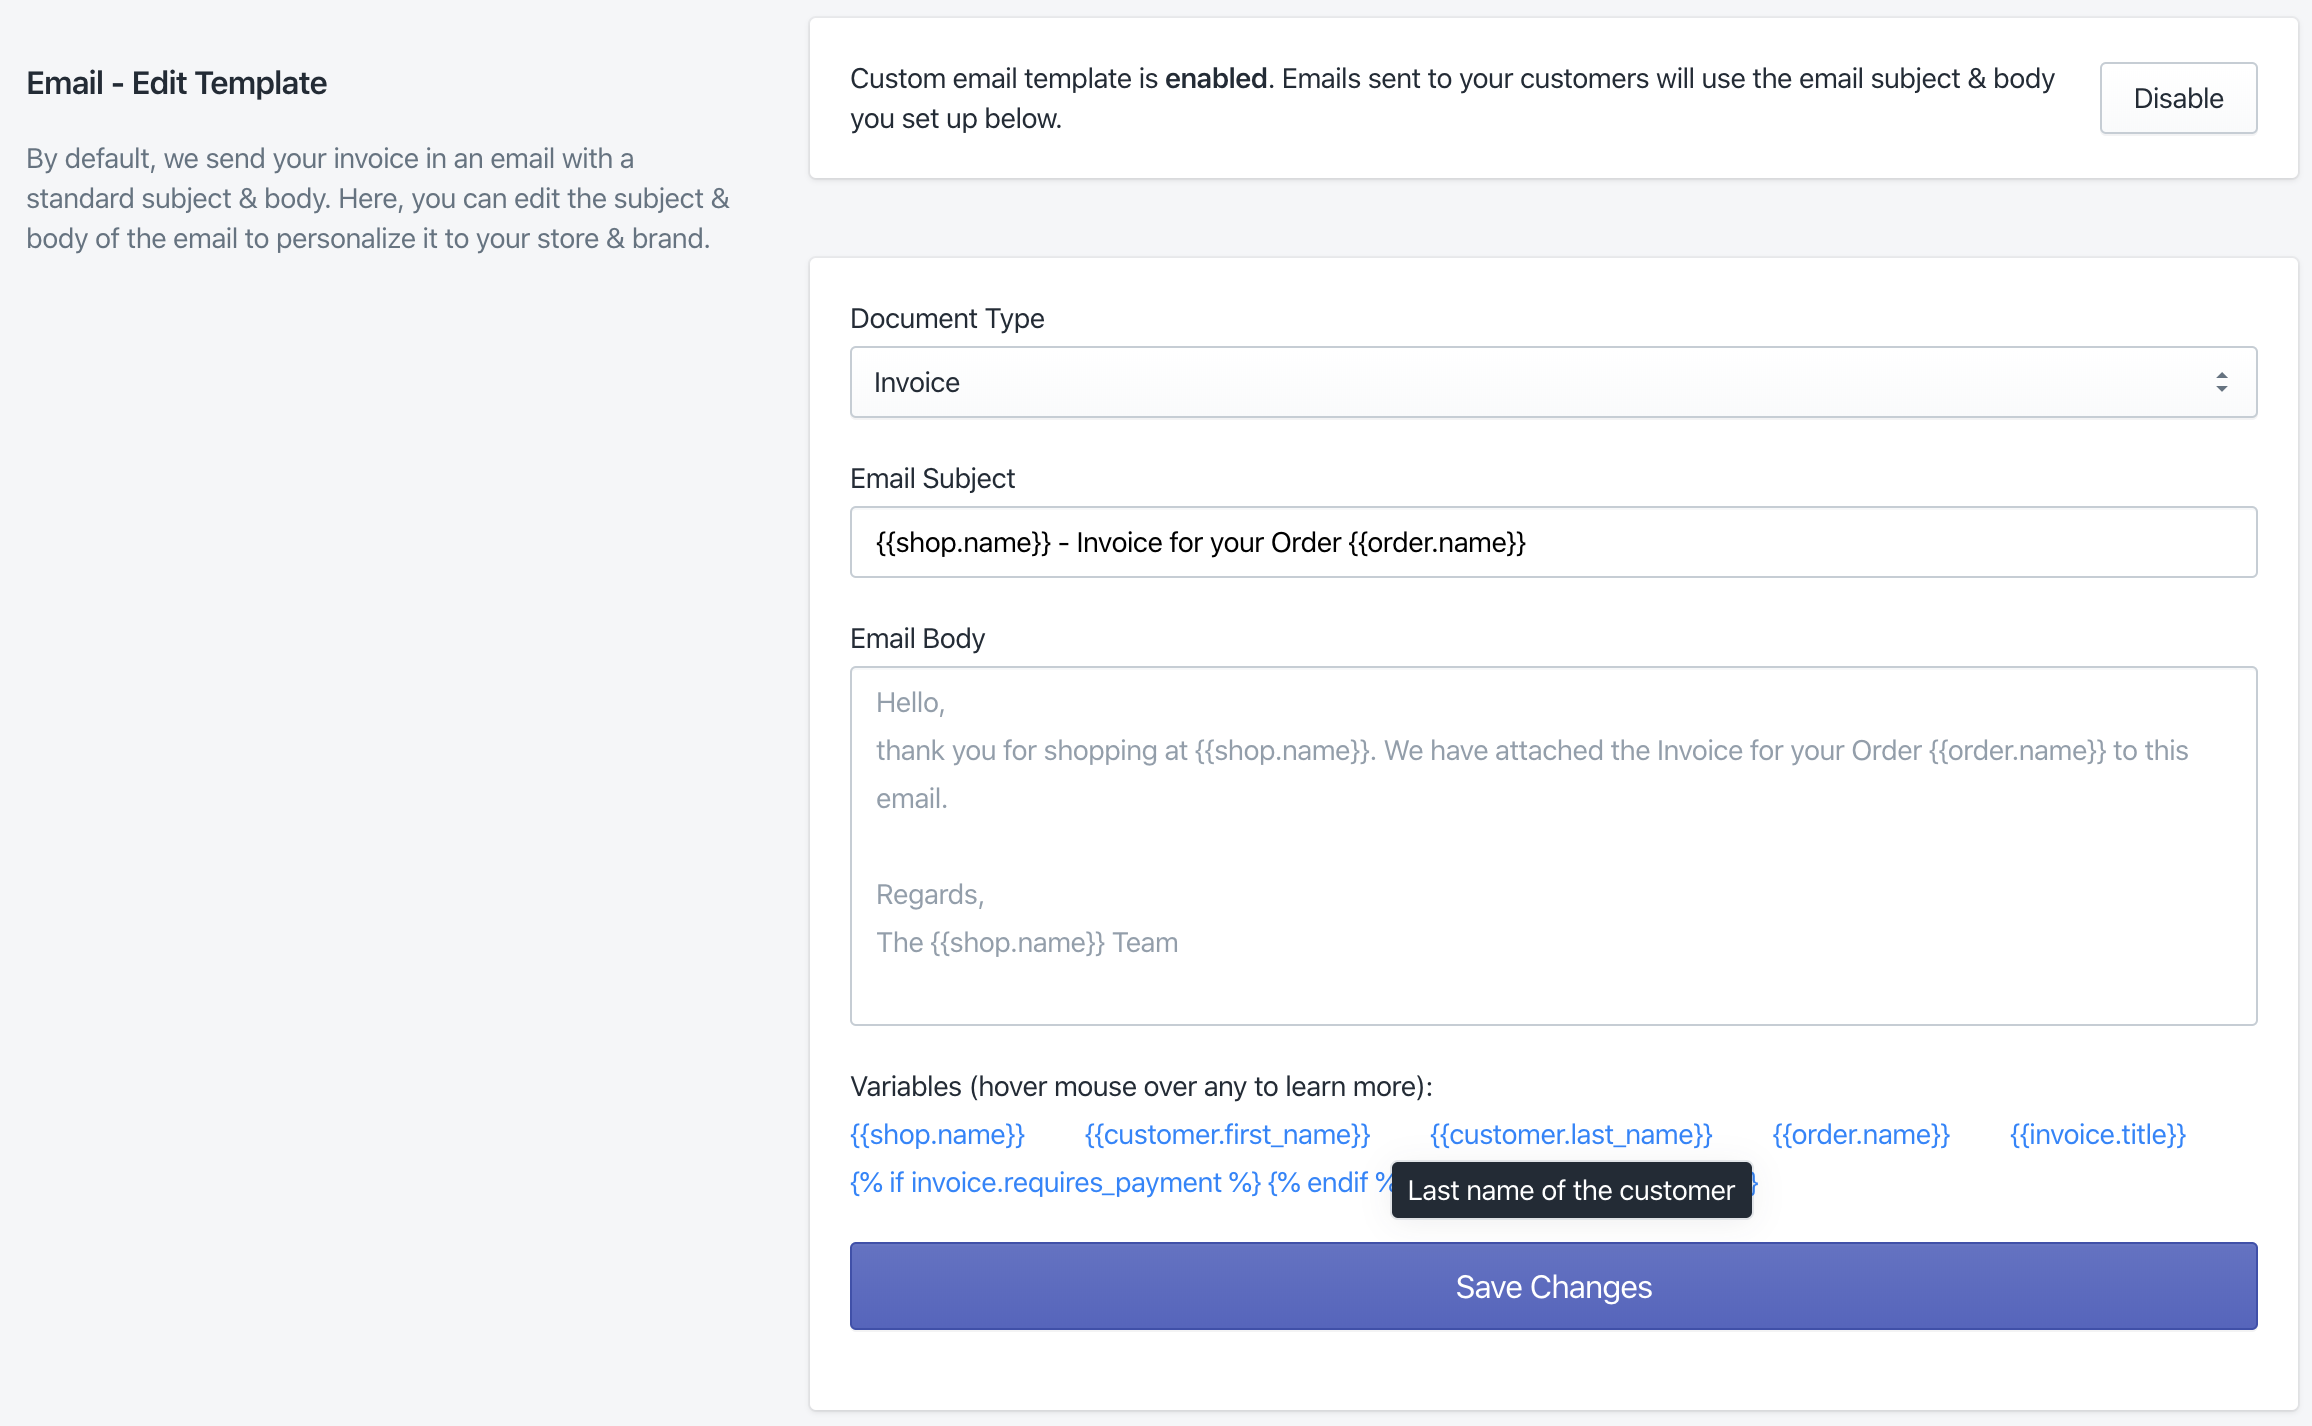
By default, Invoice Falcon sends your invoice in an email with a standard subject & body. Here, you can edit the subject & body of the email to personalize it to your store & brand.
- Click on the Enable button in the box labelled ‘Custom email template’.
- Select the type of document for which you’d like to edit the email template. The available document types are Invoice, Quote, Pro-Forma Invoice & Credit Note.
- Enter your desired subject and body in the fields provided.
- Make sure to click ‘Save Changes’ after you’re done.
How do I use liquid variables?
We’ve provided a few liquid variables that you can use in your email template. Please note that these variables need to be exactly as they look in the Variables section. If they are not as specified, there may be issues with sending the emails to your customer.
To use a liquid variable in your template, simply copy the variable you need by selecting the text, pressing Ctrl+C or Cmd+C and then pressing Ctrl+V or Cmd+V in any of the fields.
When the email is sent to your customer, these fields will be resolved and replaced with the actual data for that invoice.
How do I use the {% if invoice.requires_payment %} variable?
This variable is designed to add a Stripe payment link to the invoice email. When this variable is added to your template, a piece of text (asking your customer to pay) and a link to complete the payment will be shown to your customer.
Please note that setting up this payment link requires an Ultimate subscription and a Stripe account.
To use this variable, please copy the following snippet of code to your email template -
{% if invoice.requires_payment %}
Please complete the payment for your order by clicking on this link - {{ invoice.payment_link }}
{% endif %}
Note - You can replace the text ‘Please complete the payment for your order by clicking on this link’ with any text of your choice. When updating this text, please ensure that ‘- {{ invoice.payment_link }}’ is still present at the end of that line.